
26 Oct DIY Painted Pumpkins Inspired by The Nightmare Before Christmas
Is it me or does it feel like the beginning of fall jumps straight to spooky season? I’m not complaining since our fall decor has transitioned quite nicely from a mish-mash of colors we shall not mention to a cool palette and geeky-inspired concept. It all started with our DIY Painted Pumpkins inspired by the Nightmare Before Christmas. And I’m going to show you how we did it.
Our Falloween Decor Concept
Yep. That’s what I’m calling it. And although I thought my clever mind came up with a new word to describe how we decorate for fall in our home, I am pretty sure no concept is original. But Falloween stays because it’s perfect.
Before we got to this amazing decor style we use for our Fall and Halloween decor now, our previous decor was just a mish-mash of too many warm-colored pumpkins and leaves everywhere with scarecrows, corn, and whatever we thought represented the typical fall and thanksgiving vibe. There were just a lot of too-warm oranges and siennas everywhere and it did not go well with who we are as individuals and as a couple.
It was a lot. I mean, we literally looked like a fall gift shop.
I’m the problem. It was me.
But personal style when it comes to home decor (and even fashion) is something you have to grow into. Once you get to know yourself and you are comfortable with who you are, you start to express your own style without worrying about what others will think. We are now at that point in our lives and it has made our geeky home journey so much more fun.
Side-rant: This too-warm weather at the tail-end of October is super disrespectful. I mean, how am I supposed to fully immerse myself in all things fall and cozy when it’s almost 80 degrees outside? By cranking up the air in the house, putting on all my cozy things, and working on fall crafts and decor indoors, that’s how!
Thoughts and prayers to my cold-natured hubs.
Back to your regularly-scheduled post.
The Nightmare Before Christmas
Our Falloween decor is inspired by The Nightmare Before Christmas and we have come full circle this year with both our indoor and outdoor decor.
The warm weather on top of being in full-on maintenance mode with this blog, is one of the reasons we’re a bit late in getting our outdoor decor up for Falloween. We went all out last year and our neighbors loved it. So I can’t wait to finish our outdoor decor this year. Hopefully before Halloween.
Checks date, skeptically.
I fell in love with this spookily-charming movie a few years ago when I (finally) saw it for the first time with hubs and we decided that we were going to go with the Halloween-to-Christmas concept for our decor. We started with just a couple pumpkins (Jack and Sally) to match a door hanger we found that says “Meant to Be”. It was just adorable and we loved it. Gradually, we’ve added to our decor and found our color palette to bring it all together this year. By adding a few new pumpkins and some dark and spooky plants, our outdoor decor has finally come together.
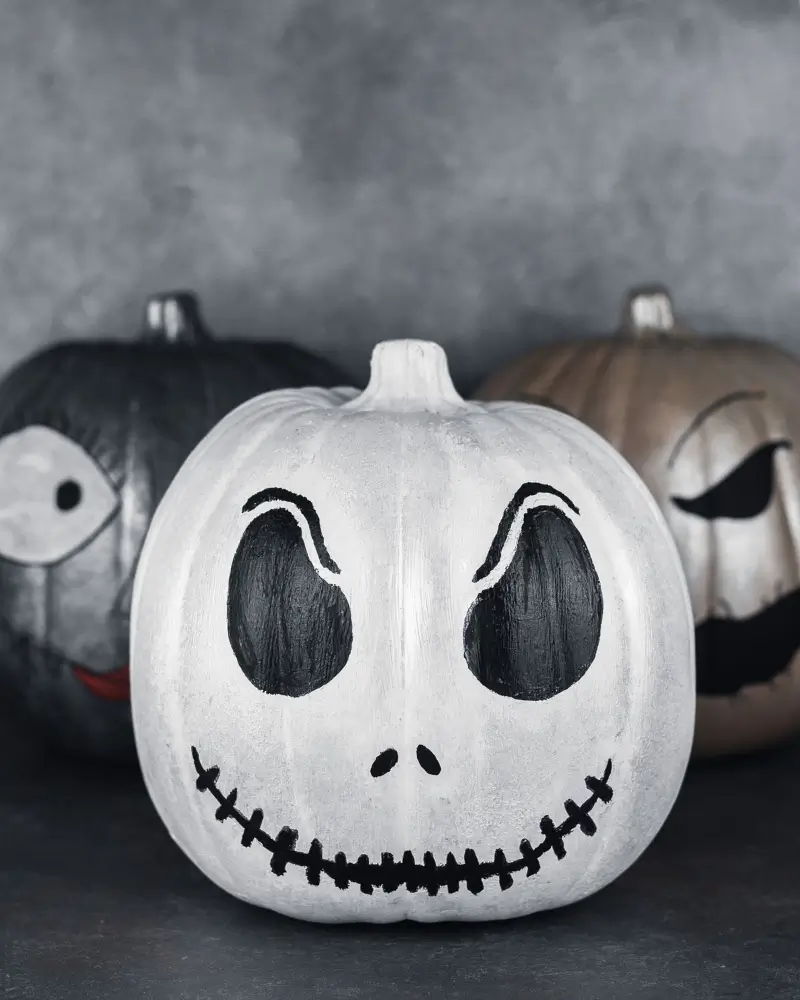
Painted Pumpkins
“That’s right. I am the Pumpkin King!” -Jack Skellington
It seems like painted pumpkins are all the rage right now, and I’m loving it. We started painting our pumpkins a few years ago because I can’t be bothered with carving. I have no patience for the inside of a pumpkin, and even less tolerance for having to deal with spoiling gourds. The weather is too warm here for all of that.
Quick tip: If you want to make sure your real pumpkins last longer, make sure you keep them as cool as possible. The warmer they become, the faster they fester. For even more protection, coat your pumpkins in a couple coats of Mod Podge to seal them and keep them as waterproof as possible. Unless you plan to eat yours, of course. I wouldn’t advise eating the decor, though!
We found white craft pumpkins at Michaels and every year we pick up two or three when they’re on sale.
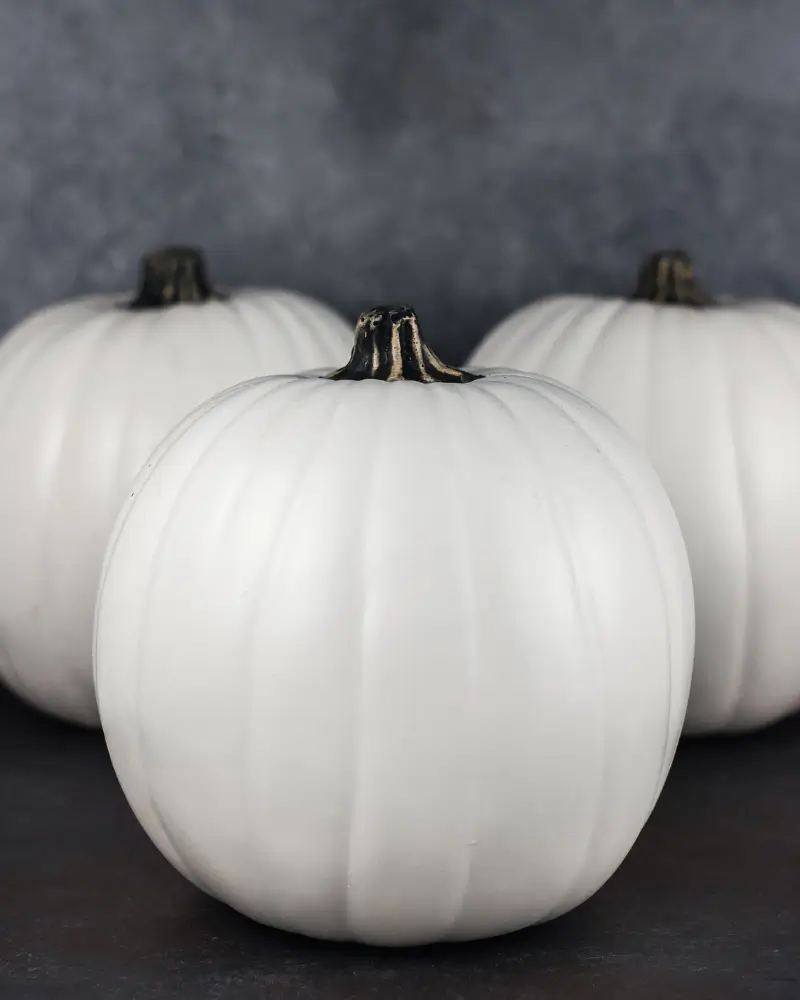
Okay, I actually pick up even more pumpkins when they’re on sale. Usually when hubs isn’t around. Semantics.
The pumpkins leave the stores quickly so you should grab what you need right away. We’ve added a couple to our collection each year as they become available. Michaels carries white, black, cream, some green, and orange. This year may have offered some other shades since the trend included a lot more skulls and a dark mysterious witchy vibe. I loved it all and walked through Michaels just absorbing the spooky aesthetic.
The thing I love about Michaels is that it’s a craft store where you can buy what you want and then make it yours. They sell paints, stamps, stencils, and all the embellishments you need to create one-of-a-kind pieces for every season. And cosplay if you’re into that. I am not affiliated with Michaels stores, but we have been shopping there for many years and love the products and experience.
Quick tip: make sure to try to aim for Michaels sales when you can. If I’m being honest, a lot of the prices are marked up so you should download the app to your phone, join their rewards program and take advantage of that everyday 20-30% coupon. You will thank me later!
We decided to stick with a very neutral palette so we could match the inside out outside of our home as closely as possible. There are a couple pops of color that couldn’t be avoided, but it isn’t loud or distracting. We had a couples paint-date where we set up a table in the living room, grabbed all our supplies, and painted the characters we wanted to showcase while watching The Nightmare Before Christmas.
That movie on a Falloween craft date-night has now become an annual tradition.
Since we already had our painted Jack and Sally pumpkins from last year, we decided to add an Oogie Boogie pumpkin this year. I’m also going to completely redo my Sally pumpkin so it’s a bit more muted. Right now it’s just too bright for our tastes.

Okay, so now I can show you exactly how we made our DIY painted pumpkins so you can make some, too!
DIY Painted Pumpkins | How to paint pumpkins for your Fall, Halloween (or Falloween) decor
Supplies you will need for your DIY painted pumpkins
Here’s a list of what you will need for this painted pumpkin project. If you check the sidebar (on the right for desktop, and below the post on mobile), I have images of the supplies with links for you to find and purchase them. Some of those links will be affiliate links. Please see my affiliate disclosure statement for more information on which companies are affiliates.
In short, when you click on a link to purchase an item, I will make a small amount for recommending that item to you. This comes at no extra cost to you, but will definitely help in the maintenance of this blog for you!
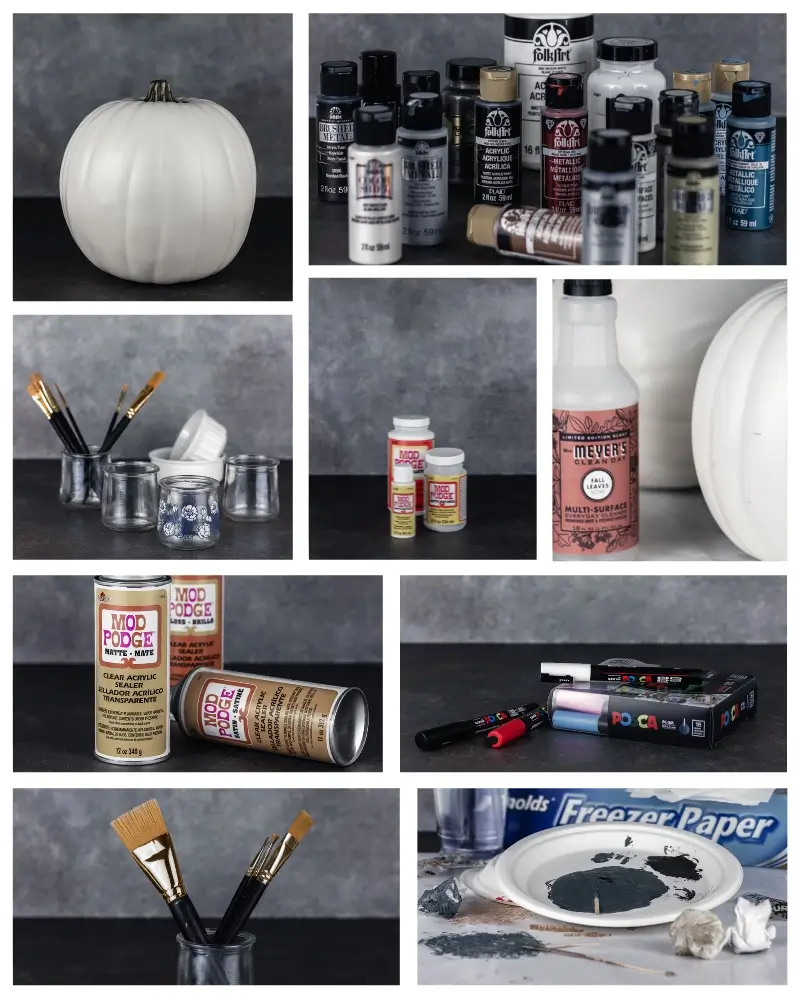
The Pumpkins
Craft Brushes
Mod Podge Primer
Glass Dish
Paper Plates
Acrylic Paint
The Nightmare Before Christmas Character Face Templates
Mod Podge Sealer Spray
How to paint your pumpkins
Start with your pumpkin. We purchased white pumpkins and went from there.
While in the middle of writing this, I decided to re-do my Sally pumpkin. As you can see in the pictures above, she’s lovely as is, but way too saturated for our decor. It’s been bothering me since last year, so I will spray over the existing design with a neutral shade (spray paint) and then repaint her to a more muted ‘industrialized’ version. This matches our interior home decor style, and it will blend much better with the rest of our outdoor decor.
I’m so excited, I love a remix!
Let’s go over the DIY as if both pumpkins were fresh and clean.
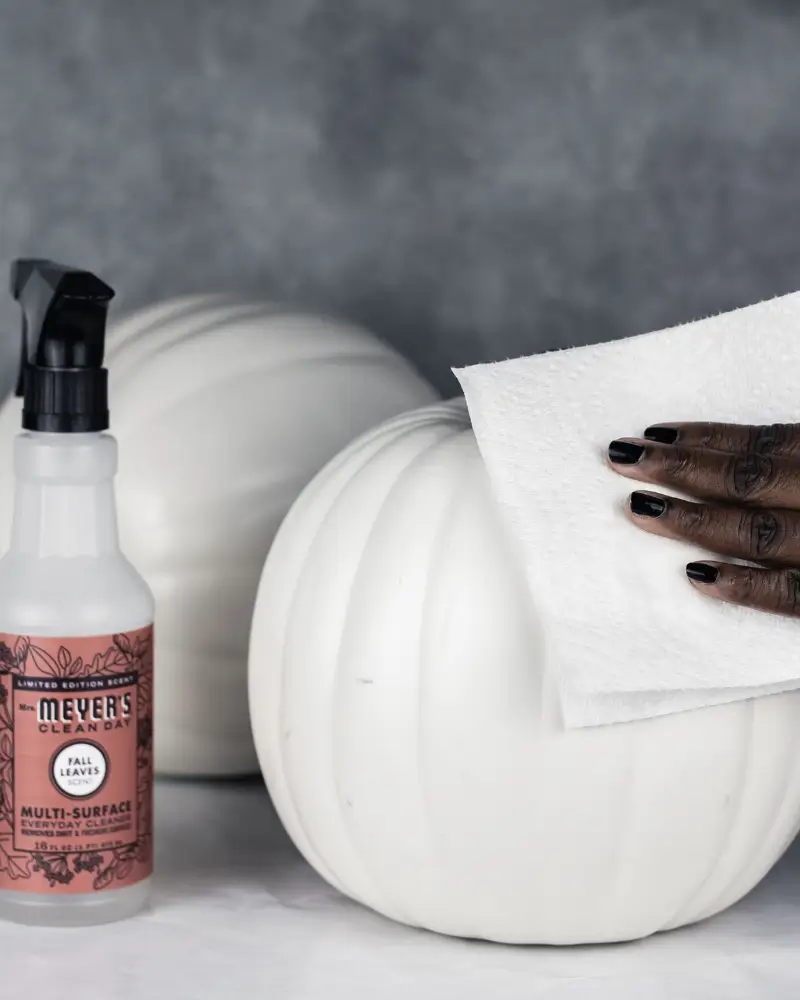
Start with a clean pumpkin surface
And that’s the first step. Always wipe down anything you’re going to prime and paint. You want a nice clean and dry surface to start. I simply take a paper towel, spray some fall-scented Mrs. Meyers onto it, and wipe down each pumpkin. This is exactly how I clean all my decor in my Refresh Your Geeky Space for Fall Decor post.
Prime your pumpkins
Now we’re going to apply the primer so the surface of the pumpkins are smooth for painting. I use Mod Podge for this. Mod Podge is a multi-purpose, all-in-one glue, sealer, and finish created by the Plaid company for crafts and other projects. I use the liquid Mod Podge as a primer in preparing projects for painting. If objects are porous (like EVA foam for cosplay) this stuff is the best for smoothing out the surfaces so that you get an even coat of paint every time. I’ve used Plaid for years for my cosplay and other home decor and will probably never use anything else. I’m a huge fan!
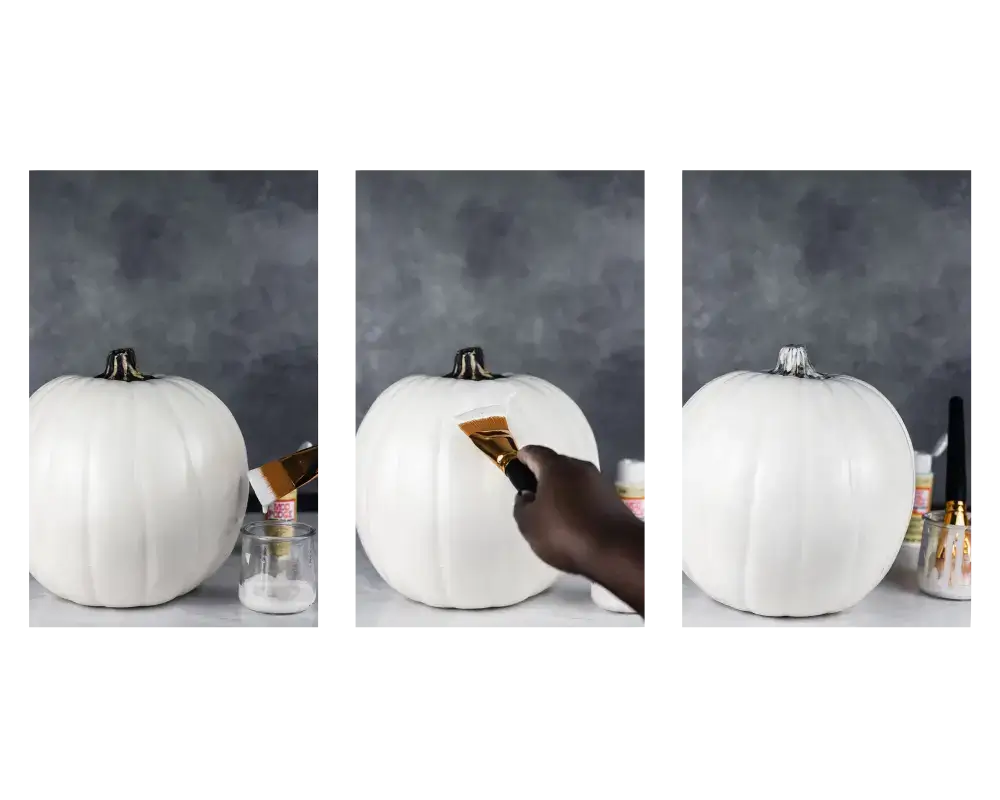
Let the primer dry completely. You don’t want it to be tacky or partially dry or the paint won’t do what you need it to do.
Paint your pumpkins
Now it’s time to paint! If you’re going with a flat base color, you may prefer to buy spray paint. I don’t really have a brand preference here, except that we try to stick with flat or satin paints.
If you have a favorite spray paint brand for home decor crafts, please share your favorites below! I’d love to find a favorite, too.
We prefer to hand paint unless we have a huge project or it will be too time-consuming. I like to use paint to add texture so everything we DIY for home decor has a similar look. This is not a requirement for amazing painted pumpkins, however. Since we usually make this a craft-date-movie-night, we’re okay with hand painting a couple of pumpkins. If you’ve primed your pumpkin, there is less of a chance of streaking when applying the paint. But just take your time and have fun with it. Two coats will usually do it.
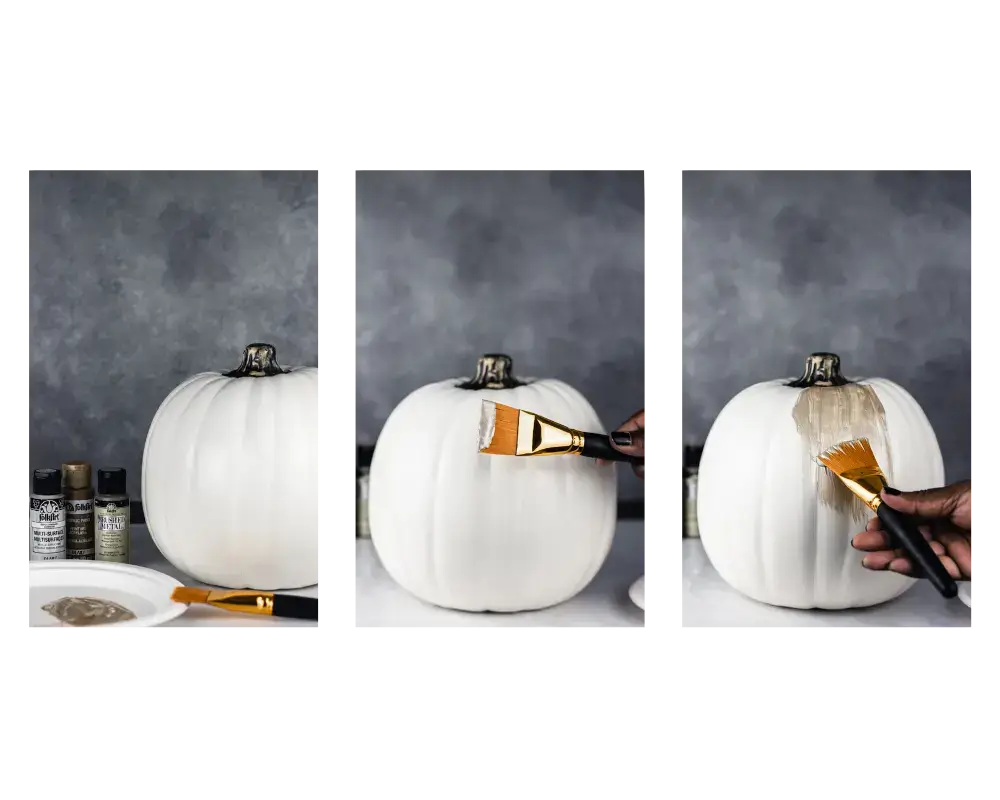
Let your base paint dry completely before adding the face details. One, you don’t want your paper template sticking to partially dry paint; and two, you don’t want your pumpkins to look like nail polish after you’ve accidentally touched and smeared it because it wasn’t completely dry yet.
Nail polish is my mortal enemy.
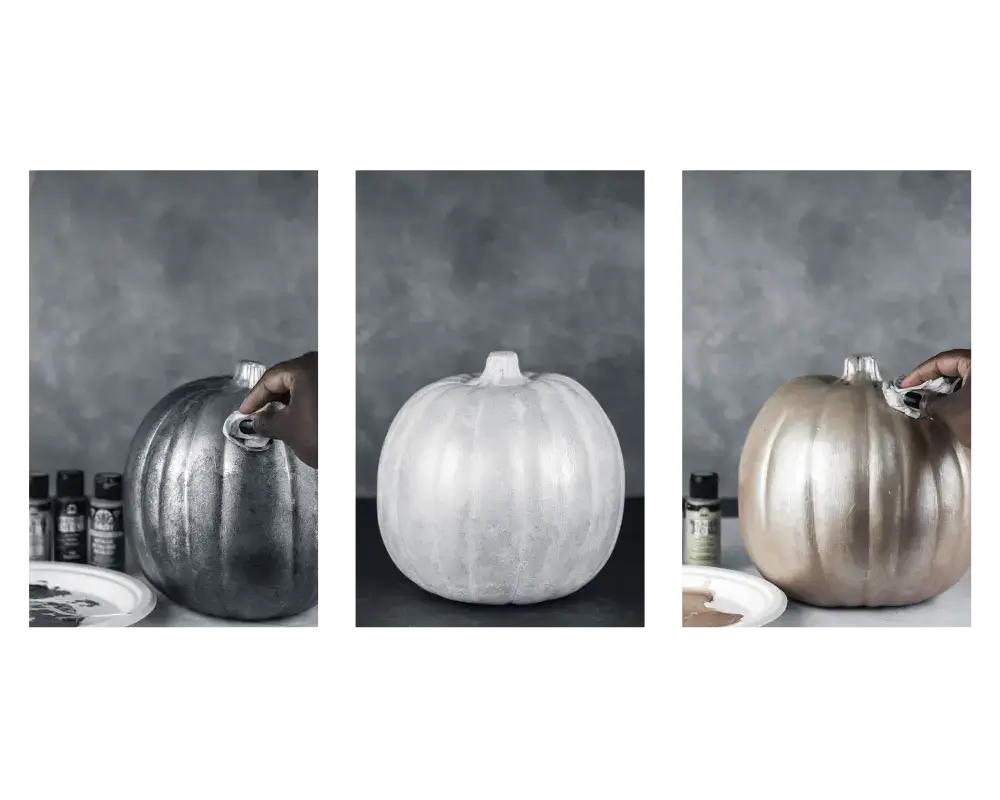
I added some industrial-inspired texture to our pumpkins. You don’t have to do this, but this goes so well with our decor style that I just couldn’t help myself.
Give your pumpkins a face
Once your base is dry, paint or draw on the face details. I like to paint mine in with a paintbrush. Because painting is a mindfulness activity for me. But a sharpie paint pen works just as well, especially if the details are black. I’ve also been known to use Posca Pens, but please don’t go out and purchase them just for this project if you have anything else that can work.
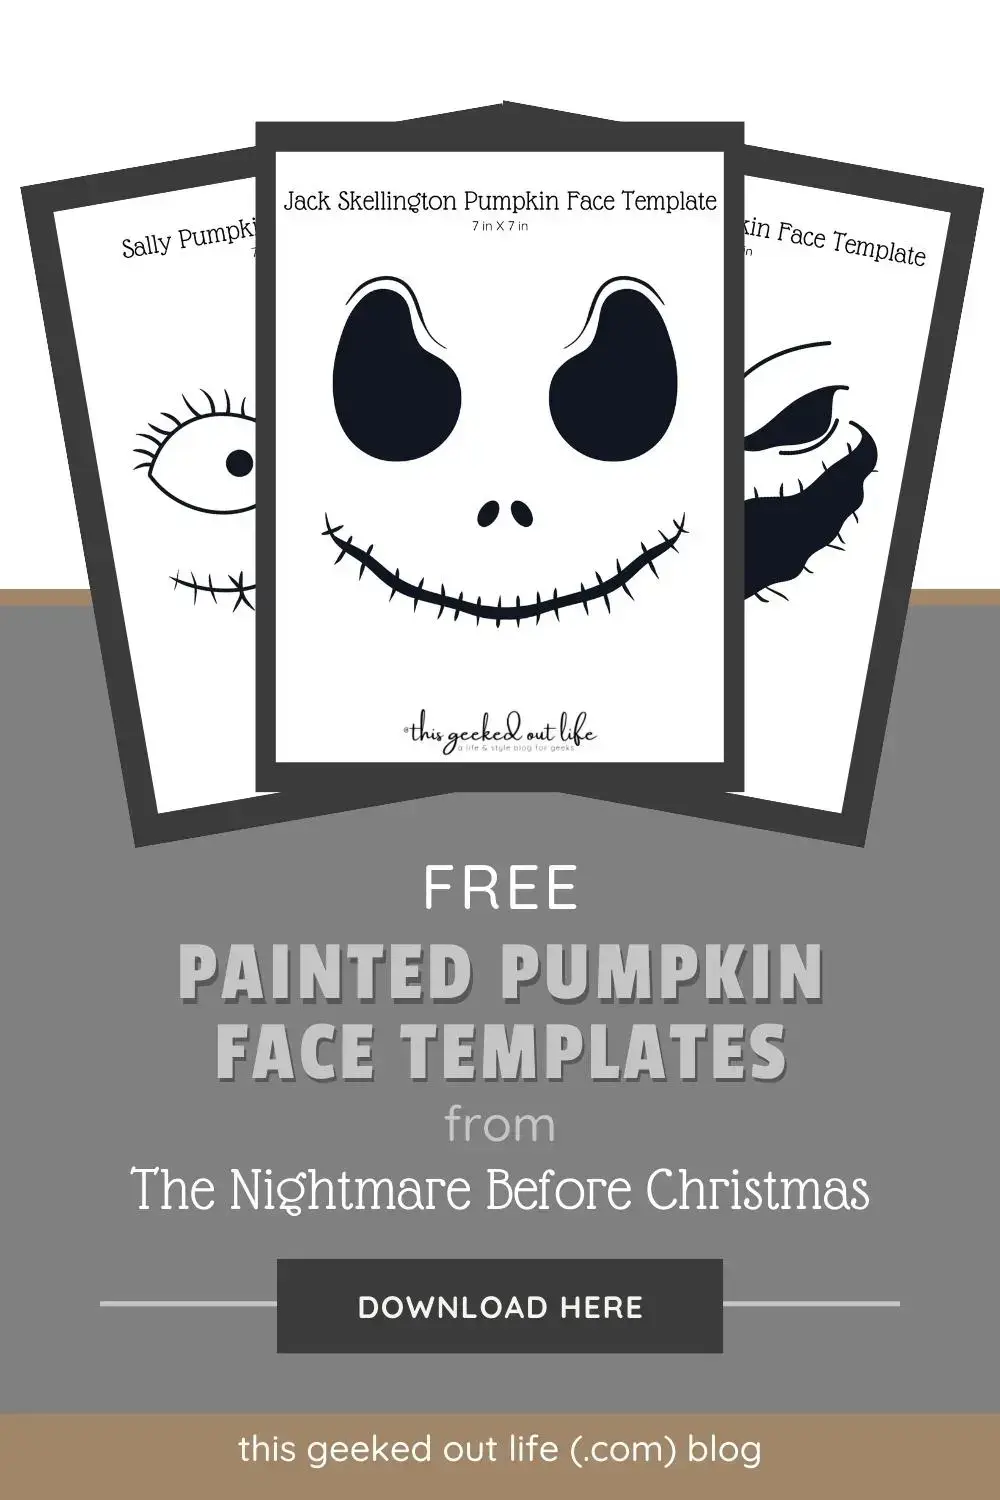
**I have three templates for you – Jack, Sally, and Oogie Boogie – if you’d like to go with the Nightmare Before Christmas, as well. They are free and available if you click this link. No need to subscribe or anything unless you want to. Of course you’ll have access to even better freebies and wallpapers every month if you decide to subscribe later, but that is totally up to you! And if you’d like to grab this pin and share it with someone who’d love to paint some pumpkins, go ahead! You can even re-pin it if that’s faster. 🙂
Seal them in and put up your Fall and Halloween decor
Let it all dry completely and then seal your beautiful work. The sealant will help to keep the outside elements from damaging your decor. We had our decor outside in the cold and rainy weather last year and it all still looks like they were just painted this year. Mod Podge sealant spray is no joke.
Now you can decorate with your new painted pumpkins!

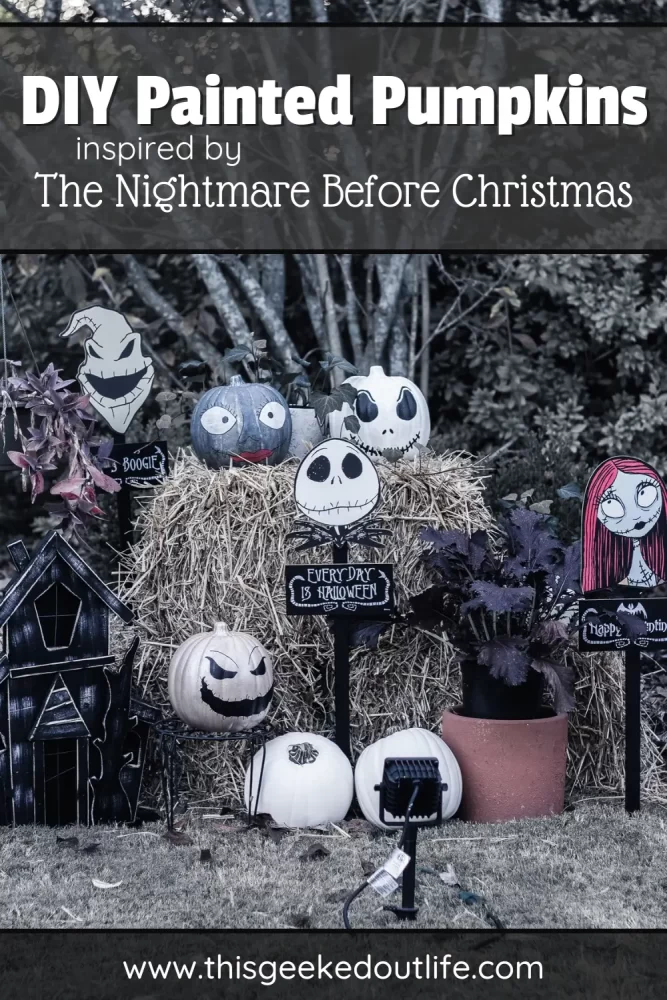
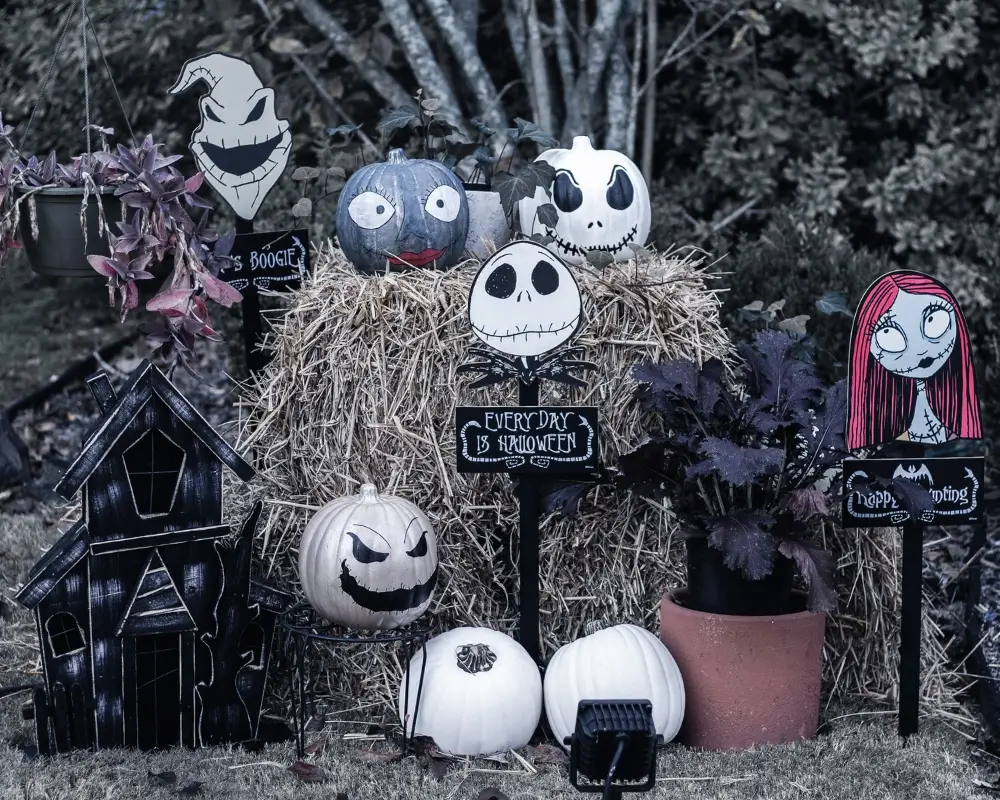
Here’s how our Jack, Sally, and Oogie Boogie turned out. What do you think of our Nightmare Before Christmas Falloween outdoor decor?
(click the image to see the decorations at night!)
Want to share this image? Pin it, below! 🙂





No Comments